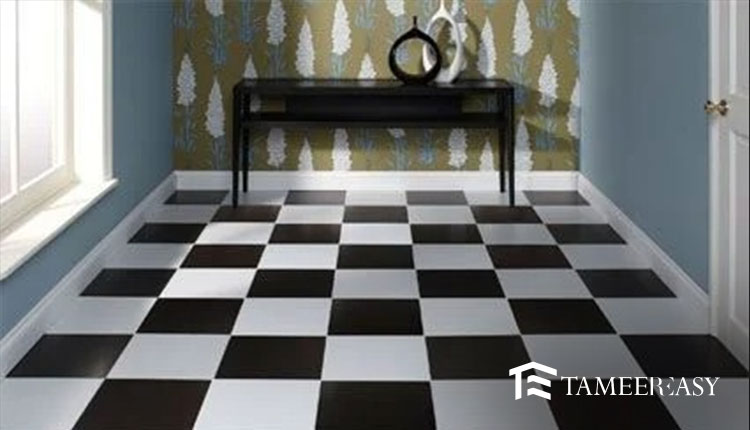
Floor tiling in a building project denotes the installation of tiles for the home’s final finishing. Your entire house will appear great if the tiles are lovely. The strength of the tiles will boost the floor’s resilience. Along with choosing the best tiles, it is crucial to understand how to install them and what to watch out for afterwards. You can get a straightforward answer to these questions from a professional who knows how to do floor tiles.
Visit TameerEasy Store to Purchase Quality Construction Items
This article will provide a detailed overview of how floor tiles are installed and the easy method for laying down tiles on a floor. You will also understand why floor tile designs are required to enhance the attractiveness of your home.
Which Flooring Technique is Simple, Affordable, and Common?
It’s easy to install flooring in a well-built structure. But it’s crucial to understand the different floor types, the idea of sub-flooring, and the floor level. If taught properly, we can comprehend the flooring process.
There are three different forms of flooring:
- Marble flooring
- Tile flooring
- Chips
Since tile flooring has become the most popular trend today, the chip flooring trend is no longer prevalent in the market. Chip flooring used to be a fairly common option with a wide variety of styles.
What is Sub-Flooring, and Why is it Important for Floor Tile Work?
For floor work, sub-flooring is crucial; with this technique, you rough out your floor after filling the soil. By adding layers of gravel or combining materials, you may compact it. These gravel layers must be 4 to 6 inches thick. It is recommended that the floor level be preserved at this stage. The compacted mud layer, often known as a layer, is then covered with a 1.5 to 2-inch thick concrete layer. This concrete layer uses mortar in a 1:2:4 ratio.
Easy and Most Effective Method of Levelling the Floor
Before installing floor tiles, it is also crucial to ensure that the water flow is correct so that it may be used for cleaning or other purposes. Maintaining the floor’s attractiveness depends heavily on its level. The most recent levelling technologies include tools like laser levelling and alignment. They are also employed in major commercial plazas and other structures. Although a professional worker takes out cord or string work at a wonderful level, you may also utilize them at home.
Entire Process to Install Strong and Beautiful Floor Tiles at Your Place
Whoever is a skilled craftsperson first arranges the tiles in a dry form within the room or bathroom and does a few critical calculations regarding the tile’s size, design, length, width, and hidden cuts. Then, apply a layer of the 1:5 mixture that is 1 to 1.5 inches thick. Dari is another name for this mixture’s top layer. You begin putting in tiles after 24 hours so that the mason may apply the mixture’s layer.
The most essential thing is to maintain the same tile spacing, whether you use bonding material to place the tiles or, more recently, packets of cementation chemicals. There are spacers on the market that you may use to ensure an equal distance between the tiles to keep their spacing the same. Additionally, remember that if a tile has cutting or other features, it should be set in a spot on the corner side so that the floor’s impact is not damaged.
Grouting the Floor- A Crucial Step to Do After Placing the Floor Tiles
A craftsman also has to be familiar with grouting the floor. After installing or fitting the floor tiles, it involves filling the seams with a cement-like substance. To ensure that the filling of the joints is good and robust, it should be blown clean before grouting. To ensure the space is adequately filled, place the filler material on the ground and wipe it off.
An Essential Advice for Laying Tile on the First and Second Floor
Don’t worry; the remainder of the procedure will be the same as above if you intend to tile the first and second floors. The roof has to be thoroughly cleaned before you tile it, and a coating of concrete must first be applied. Dust should be removed, no loose objects, and the water should have been thoroughly washed. Your floor will be sturdy and attractive as a result.
Conclusion
Here is the entire process for tiling a floor and some crucial advice on choosing an appealing floor tile design for your home. Now you thoroughly understand the complete flooring process, from A to Z, on how to build a durable and attractive floor. However, if you still need more flooring advice, please contact us. Visit our corporate website so that we at tameereasy.com can help you even more.